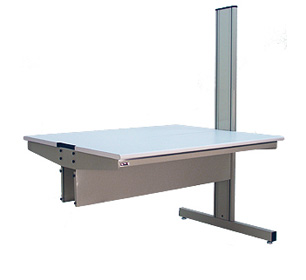
BenchPro™ G-Series Modular Workstations
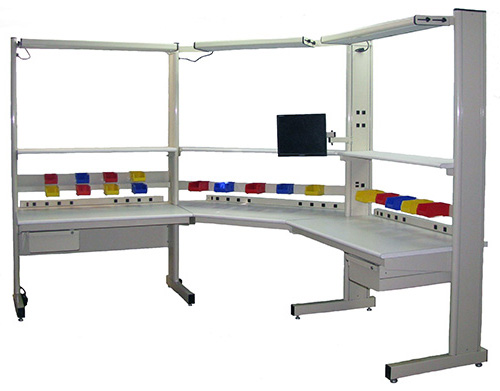
BenchPro™ G-Series workstations feature a two column design that can be used as a stand alone station, or as work cells, lines, or pods by the addition of adder units.
Image shown with these available options:
- Steel light fixtures and brackets
- Adjustable bin box rail
- Painted steel leg inserts
- Adjustable frame & modesty panel
- Chrome plated leveling floor glides
- Leg installed power plugs
- Work surface and shelf with 180° rounded front edge for user comfort
Additional accessories are also available. See below for workbench assembly instructions.
Browse Grant Series Workstations Online
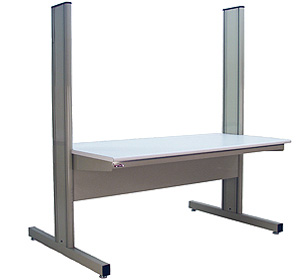
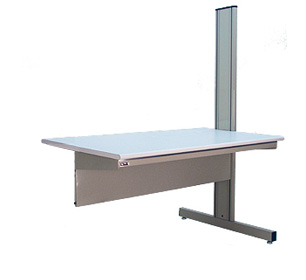
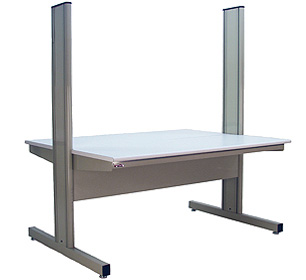
Grant Series Workstation Assembly Instructions
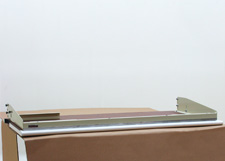
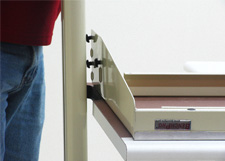
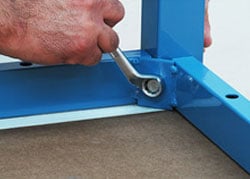
BenchPro™ Grant Series workbenches are fastened together using special "T-Head" threaded fasteners. These fasteners are inserted into the slots of the upright end panels, and are turned one quarter-turn to lock into the channel. Nylock nuts are then tightened up to secure the assembly.
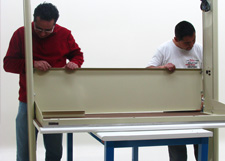
1. Position the work surface upside-down on a small table or bench. Turn the heads on the fasteners so that the heads are positioned vertically.
2. Determine which side of an end leg panel is to be connected to the work surface. Position the end panel with the horizontal feet facing up. Slide the T-Head fasteners into the slot, then turn the nylock fastener until slightly tight.
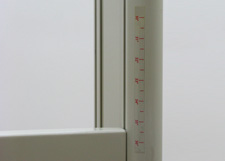
3. Slide the legs to the desired worksurface height while observing the height marking tape.

4. Tighten the nylock fasteners.
5. Position the modesty panel all the way down against the bottom of the work surface.
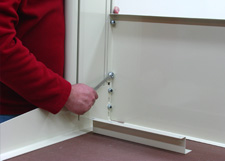
6. Tighten the nylock fasteners.
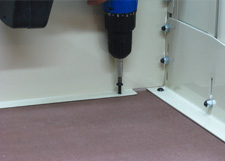
7. Using an electric drill, fasten the top of the modesty panel to the bottom of the work surface.
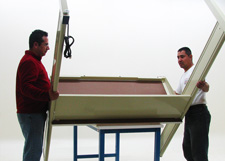
8. Turn the workstation over.
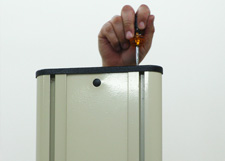
9. Install the end panel top caps using the two fasteners provided.
 Compare BenchPro Build Quality
We imported a Chinese knock-off of a BenchPro workbench, and documented the results in photos. See the difference.
Sign up to be the first to know about new products, promotions and industry news.
Sign UpProduction Automation Corporation is ISO 9001:2015 Certified.